As a longtime technical writer, it’s second nature for me to add images to text documents. While I used to use Adobe Framemaker all the time to create complex technical manuals, I find it’s best to stick with Microsoft Word when I collaborate with non-technical subject matter experts to create documents.
If there’s one tip I’d want to share about adding images to Word documents, it’s this: always keep them in line with the text so that, when the text that refers to the image moves, the image moves along with it.
The text can move for a number of reasons, not the least of which is that you might add or remove sections of text prior to the image in the document. When you do that, you don’t want to worry about reformatting pictures to put them back in the right place.
Keep images in line with text
To keep the image in line with the text, right-click the image once you’ve placed it in Word and click “Format Picture.” The following dialog appears, and you’ll need to click the Layout tab.
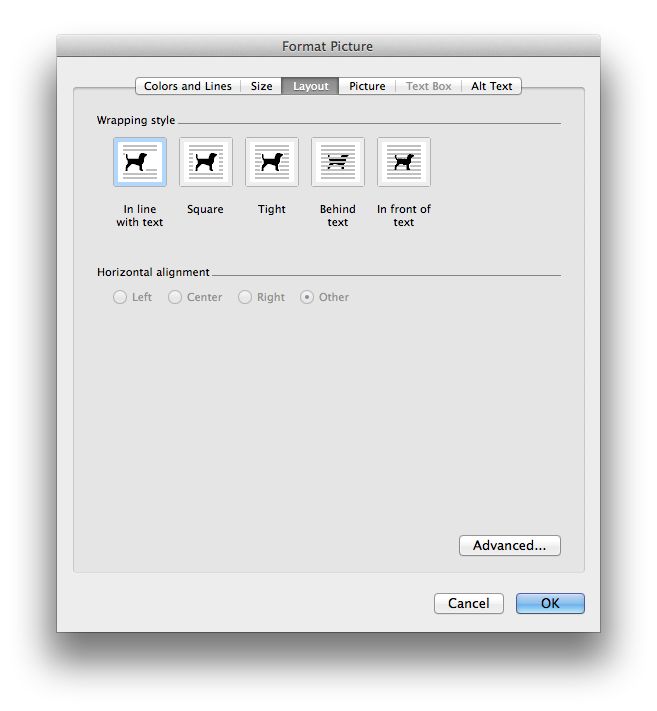
In the dialog above, you’ll see five boxes under the “Wrapping style” heading. While they all serve different purposes, I prefer “In line with text” for the simple reason that it causes me no formatting headaches.
Resizing images the easy way
If you need to resize an image, you can use the Size tab in the above dialog to ensure something like a specific width for all your images. (Word lets you resize images proportionately so that you don’t need to figure out the image height as well.)
But if all you need to do is eyeball the size, just click the image, then click and drag one of the square dots that appears at the four corners of the image.
“Grouping” related text and images
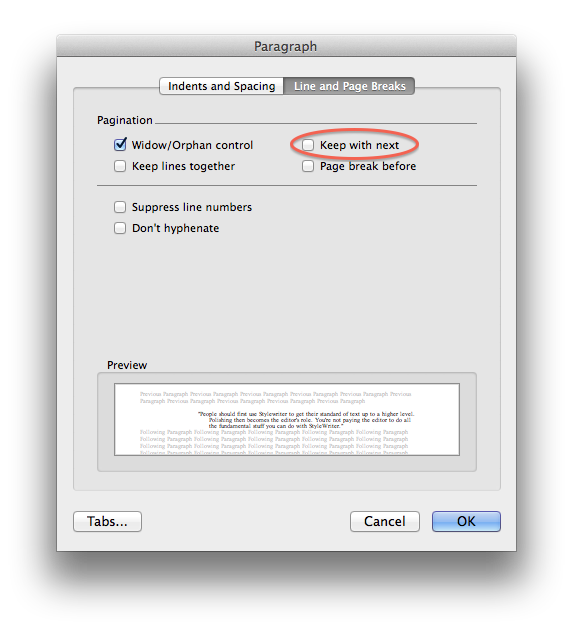
If the paragraph that precedes the image refers to the image, you can prevent the image from appearing at the top of a given page with the relevant text at the bottom of the preceding page. Here’s how you do this:
- Click the paragraph to place the cursor in it.
- Right-click the same paragraph to bring up the contextual menu.
- Choose “Paragraph.”
- Click the Line and Page Breaks tab
- Select “Keep with Next.”
Here’s the dialog with the option circled in red:
Captions
If appropriate, you can also right-click the image and use the menu that appears to insert a caption for the image.
Editing images
If you need to change things about an image other than its size, Word lets you do that too. For more image-editing tips, check out this blog post.
Apple Pages
Pages, a word processor made for the Mac, offers a number of image formatting options as well. You can find many (if not all) of these options in Word. Here’s a short video that explains image handling options in Pages.
http://www.youtube.com/watch?v=qJpceiEVoOk